How to get started with a BeagleBoard (Rev #15)
Apart from the BeagleBoard itself1, you will need:
- A 5 V DC regulated power supply of at least 2 amps; more if you use a USB hub that doesn’t have its own power supply. For the BeagleBoard-xM, a 3 amp or greater supply is recommended if you are going to use the integrated hub to full capacity.
- An SD card (microSD for BeagleBoard-xM). Any capacity card will do, you’re only going to put less than 10 megabytes on it. You will need a card reader to allow you to put the ROM image onto the card, but the card itself will plug straight into the SD card slot on the BeagleBoard. Therefore if you have a computer with an internal SD card reader then there’s no need to buy an additional USB card reader.
- A monitor with a digital input; that means DVI-D, DVI-I or HDMI. DVI-A is no use.
- Depending on your monitor, you may need a cable and/or adaptor to go from the BeagleBoard’s HDMI connector to your monitor;
- For the ‘classic’ (non -xM) BeagleBoard you’ll want a USB hub, preferably powered and preferably 7 ports. For the BeagleBoard-xM you generally won’t need a seperate hub, unless you have lots of USB devices.
- A USB keyboard;
- A USB mouse with three buttons (often a scroll mouse will have the third button as a press of the scroll wheel);
- A USB memory stick; this one will be your HardDisc0, so you want a very minimum of 512 MiB, preferably more;
- If you want to network a ‘classic’ BeagleBoard, (Internet, ShareFS, NFS, NAS, etc.), you’ll need a USB Ethernet dongle. The BeagleBoard-xM has a network port onboard so there’s no need for a dongle.
- It’s desirable to have some sort of case to put the BeagleBoard in, so that you don’t damage it by zapping it with static electricity on your body.
Let’s go through some of those items in a bit more detail.
The BeagleBoard is shipped without any power supply. It requires a regulated 5 volts DC input, and has a barrel connector of the most common size. The BeagleBoard itself will consume something like 1 amp, but may need more in some circumstances, most notably at start-up. So you really don’t want to give it less than a 2 amp supply. Bear in mind that these figures don’t take into account the power drain of any attached USB devices. With a ‘classic’ BeagleBoard it’s best to use a hub that has its own mains power supply, so a 2 amp supply for the board will be fine. But with the BeagleBoard-xM a 3 amp supply is recommended to ensure that there is enough power available for the integrated USB hub.
Realistically, you will probably want your BeagleBoard on your network. For ‘classic’ BeagleBoards this means you’ll have 4 USB devices connected to the hub (keyboard, mouse, memory stick, USB-Ethernet dongle), which is why a 7 port hub is recommended, to ensure you have at least one port spare for anything else you might want to use. The hardware compatability page has a list of Ethernet adaptors that are known to work with RISC OS.
The monitor with digital input is a must. The BeagleBoard simply doesn’t have any analogue video output apart from S-video, which is only of limited resolution, and isn’t fully supported by RISC OS yet. The digital video output is essentially unencrypted HDMI, which is electrically compatible with DVI-D. It must be admitted that DVI is pretty confusing; if you’re not sure about it, there are plenty of places to look on the Internet. Wikipedia’s entry is a good start. DVI-D is digital (and suitable); DVI-A is analogue (therefore not suitable); DVI-I supports both digital and analogue feeds, and is therefore suitable. Make sure you have a cable and adaptor system that goes from BeagleBoard’s HDMI socket to the monitor. I got caught when I bought my new monitor, because it didn’t have a socket and a free cable; instead it has a captive cable terminated in a DVI-I plug. Thus I needed an HDMI to DVI adaptor. Most of these adaptors are HDMI to DVI-D. A DVI-I plug won’t fit into a DVI-D socket! Fortunately there are a few HDMI to DVI-I adaptors available, but, if you need one, look carefully to see exactly what you’re buying.
As for the memory: you need an SD card and a USB memory stick (or additional SD card and USB card reader). They serve in two entirely different ways. The SD card only holds a boot script (which is tiny) and the RISC OS ROM image (which is only a few megabytes). For the ‘classic’ BeagleBoard MMC cards may also work. SDHC cards will work too, though at present the extra capacity will be wasted. The USB memory stick, on the other hand, is the RISC OS “disc”, which usually contains a minimum of several hundred megabytes and growing with all your files. You won’t get away with less than 512 megabytes. The bigger the better; you can’t have too much hard drive capacity. It’s a generic USB flash drive we’re talking about here, not Sony’s proprietary Memory Stick (MS) devices.
OK, you’ve got all the items on your shopping list; now what do you do?
You’ll need the use of another computer for some of the following steps. You should at all times be careful not to damage the BeagleBoard by static electricity on your body. Keep yourself earthed frequently, by touching some earthed metal such as a central heating radiator or a metal-cased computer. When you approach the BeagleBoard, you should do so from the edge, and touch one of the metal connector shells first.
Delete all files from the SD card. Then copy two files to it:
- The BeagleBoard u-boot boot script from the boot script archive. renamed as ‘boot.scr’;
- The “Beagle ROM” from this page.
(The above information is extracted from another wiki page on this site; it’s the “easy way” on Using the Cortex-A8 port?. )
Format the USB memory stick as ADFS using !SCSIForm, which you should have on your existing RISC OS computer. Do make sure to format the USB stick, not your main hard drive! Check, double check, and check again before doing it.
From this page you’ll need two files: UnTarBZ2 and HardDisk4. HardDisk4 is a compressed image of the minimal contents of a RISC OS 5 disc image; you’ll need UnTarBZ2 to decompress it. Hard Note that UnTarBZ2 is supplied in self-extracting form. (Alternatively, HardDisc4 is a self-extracting version.) Once you’ve installed UnTarBZ2 on your exising RISC OS computer, you can uncompress HardDisc4, and copy it to the USB memory stick. Don’t forget to dismount it before you unplug it.
OK, now connect everything up, and you should be ready to go! The SD card plugs straight in to the BeagleBoard; the monitor comes from the HDMI connector; the USB hub plugs into the BeagleBoard’s larger USB socket (not the smaller OTG socket, as there are some remaining issues with MUSBDriver ); the keyboard, mouse, USB stick and USB Ethernet adaptor (if you have it) plug into the USB hub. The BeagleBoard and the USB hub need their power supplies plugged in.
In particular, the BeagleBoard documentation warns that you must not plug in a DVI monitor while the BeagleBoard is powered.
Regarding board failure, the following has been quoted by a beagleboard.org representative:
Failure rate is about 1% of which 75% of that is user abuse. Either they can’t read the 5V label on the connector or they can’t figure out how to reflash the NAND by following the instructions. There are no time based failures.
It’s probably good advice to take reasonable care when plugging/unplugging, and do so as infrequently as possible. This is to reduce strain on the board joints and is especially the case with the larger 5V DC, HDMI and S-Video sockets.
Turn it all on!
After what seems an eternity, RISC OS’s startup text should appear on the monitor, shortly followed by the machine booting into the desktop. If something’s gone wrong then you may be left at the supervisor prompt (or even worse, you’ll be left on a blank screen). See the troubleshooting guide for more information on what to do if the machine doesn’t boot correctly, or if you run into any other problems during use.
Other things to do once you’re up and running
- EtherUSB
- Follow instructions described in the Tips ‘n’ tricks for the OMAP port thread. You’ll need to download James Peacock’s EtherUSB too.
- ==
Note that once you’ve saved the network settings you’ll need to make sure the network adaptor is always connected at boot if you want to avoid the boot sequence failing halfway through. An unfortunate side-effect of the way both EtherUSB and the network configuration currently work :(
== - Note that BeagleBoard-xM users will also need a copy of EtherUSB, as the onboard Ethernet adaptor is actually connected via USB.
- Alignment exceptions
- The Cortex-A8 software compatability list? states where software works if alignment exceptions are turned off.
- A short BASIC program is listed under the alignment exceptions documentation. This can be used for testing purposes. Note the small modification listed if you want to turn them back on again.
- MDFs
- Some standard modes are listed under MDF entries
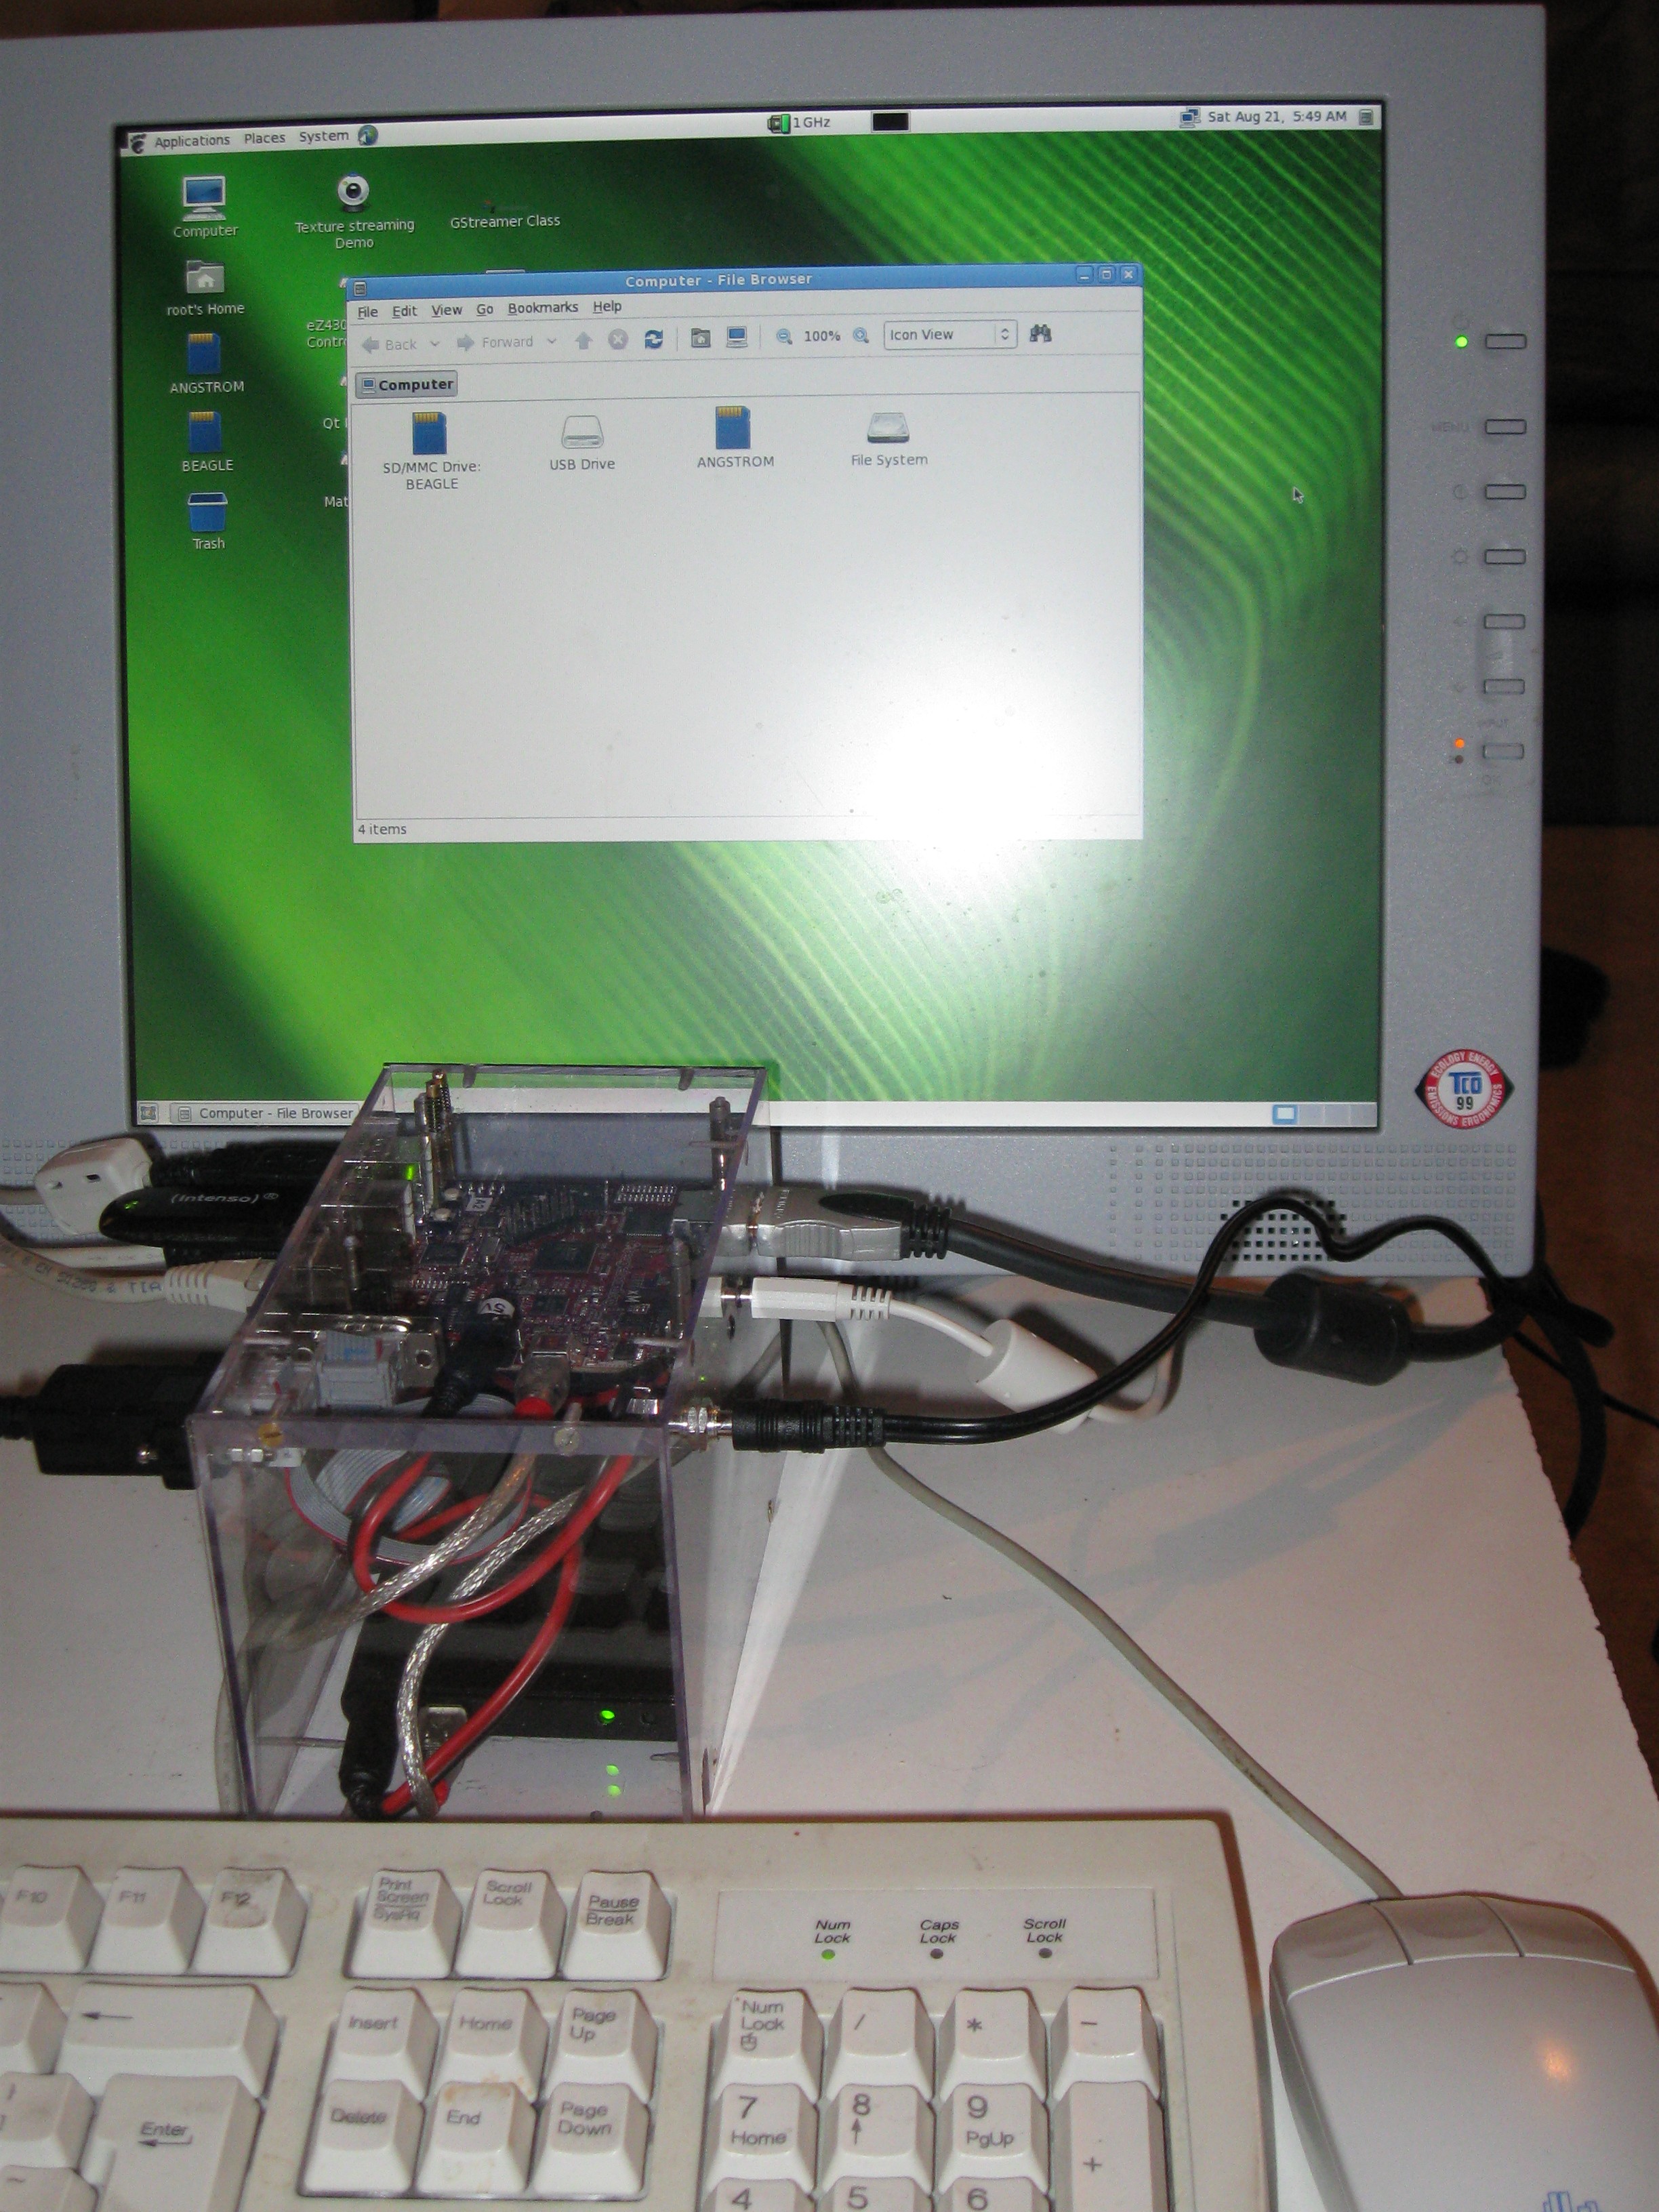
- Build a case for it
1 Beware of being incorrectly charged additional VAT on shipping (applies to Digikey and possibly other vendors).
Social
ROOL Store
 Buy RISC OS Open merchandise here, including SD cards for Raspberry Pi and more.